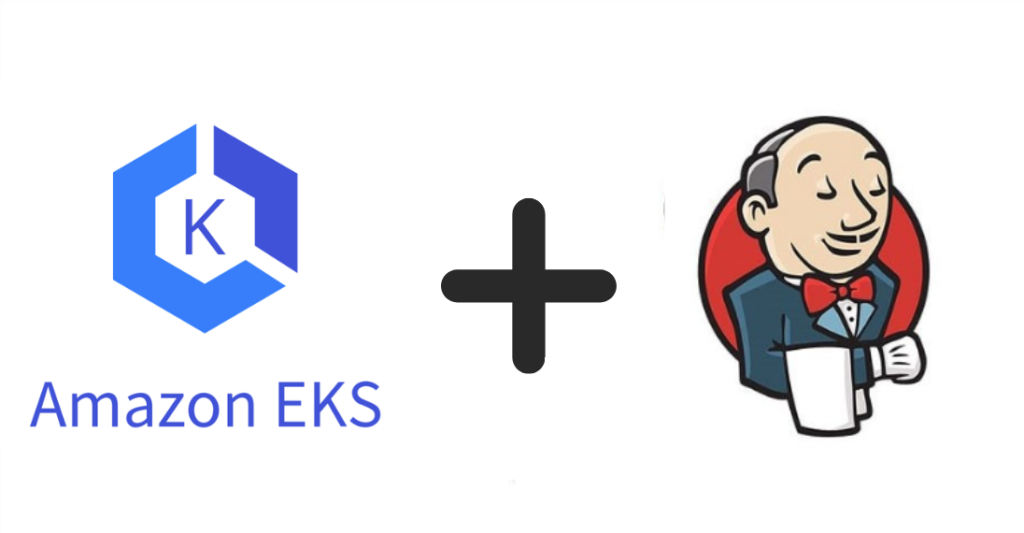
In addition to our existing automation process, we will now explore complex architectures that utilize Kubernetes to run highly scalable solutions, such as microservices applications.
Prerequisites
- Basic knowledge of the terminal
- jenkins server
- AWS account
- A smile on your face (Put up that smile friend ?)
Please note: This lab is not available for free practice. Utilizing EKS will incur charges from AWS.
Introduction
In order to manage your EKS cluster on AWS and deploy applications to it, it is necessary to configure your Jenkins server to have the necessary capabilities to run Kubernetes commands, such as kubectl, helm, and other Kubernetes components. In our case, we will demonstrate how to prepare your Jenkins server and provide you with a step-by-step guide to achieve successful CI/CD integration.
Installed kubectl inside Jenkins Container
Following the previous demonstration where we worked with a Jenkins container, we will now delve into the Docker container environment:
docker exec -u 0 -it ID_container bashDownload the latest release with the command:
curl -LO "https://dl.k8s.io/release/$(curl -L -s https://dl.k8s.io/release/stable.txt)/bin/linux/amd64/kubectl"ensures that the kubectl binary file has the necessary permissions to be executed by the user running the Jenkins process
chmod +x kubectlensures that it is in a location accessible by the Jenkins process
mv ./kubectl usr/local/bin/kubectlInstalled aws-iam-authenticator inside Jenkins Container
Next, we will proceed with downloading aws-iam-authenticator to establish a connection between our AWS account and the Jenkins server:
curl -Lo aws-iam-authenticator https://github.com/kubernetes-sigs/aws-iam-authenticator/releases/download/v0.5.9/aws-iam-authenticator_0.5.9_linux_amd64
execute permissions to the binary:
chmod +x ./aws-iam-authenticator
ensures that it is in a location accessible by the Jenkins process
mv ./aws-iam-authenticator usr/local/bin/Created ./kube/config and copied inside the Jenkins Container
In this step, you will require three components from your EKS cluster.
- K8s cluster name
- server endpoint
- certificate-authority-data
To be punctual try to run this command on your local machine if you had already AWS CLI
aws eks update-kubeconfig --region region-code --name my-cluster See the documentation here to create config file here
Now, using the following command, copy the configuration file from your server to the Jenkins container:
docker cp config container_id:/var/jenkins_home/.kubeCreated Jenkins Credential
Best practice would be create an AWS IAM user for jenkins with limited permissions
After creating the user, obtain the aws_access_key_id and aws_secret_access_key. Then, navigate to the credentials section in Jenkins and create a secret text entry to securely store your credentials.
Created simple Jenkinsfile that deploys to EKS cluster
Let’s proceed to create a deployment stage for deploying our example image, such as an NGINX image:
stage('deploy') {
            environment {
               AWS_ACCESS_KEY_ID = credentials('jenkins_aws_access_key_id')
               AWS_SECRET_ACCESS_KEY = credentials('jenkins_aws_secret_access_key')
            }
            steps {
                script {
                   echo 'deploying docker image...'
                   sh 'kubectl create deployment nginx-deployment --image=nginx'
                }
            }
        }
conclusion
By utilizing this Jenkins file, you will save significant time and accomplish multiple tasks simultaneously. Furthermore, we can enhance this Jenkins file to facilitate the deployment of monitoring tools in the next blog. Stay tuned for updates. If you have any questions or suggestions, please feel free to reach out to me.